
LEDs have slowly become the standard for DIY lighting projects because they consume less power and last way longer than regular light bulbs do. Light-emitting diodes have no filament, meaning they generate their light solely by the movement of electrons in a semiconductor material.
Because of their efficiency and versatility, we see them everywhere: from clocks and calculators to cars and traffic lights. So why is it that when I see some LEDs, I completely disregard their usefulness and instead think of how much they look like candy?

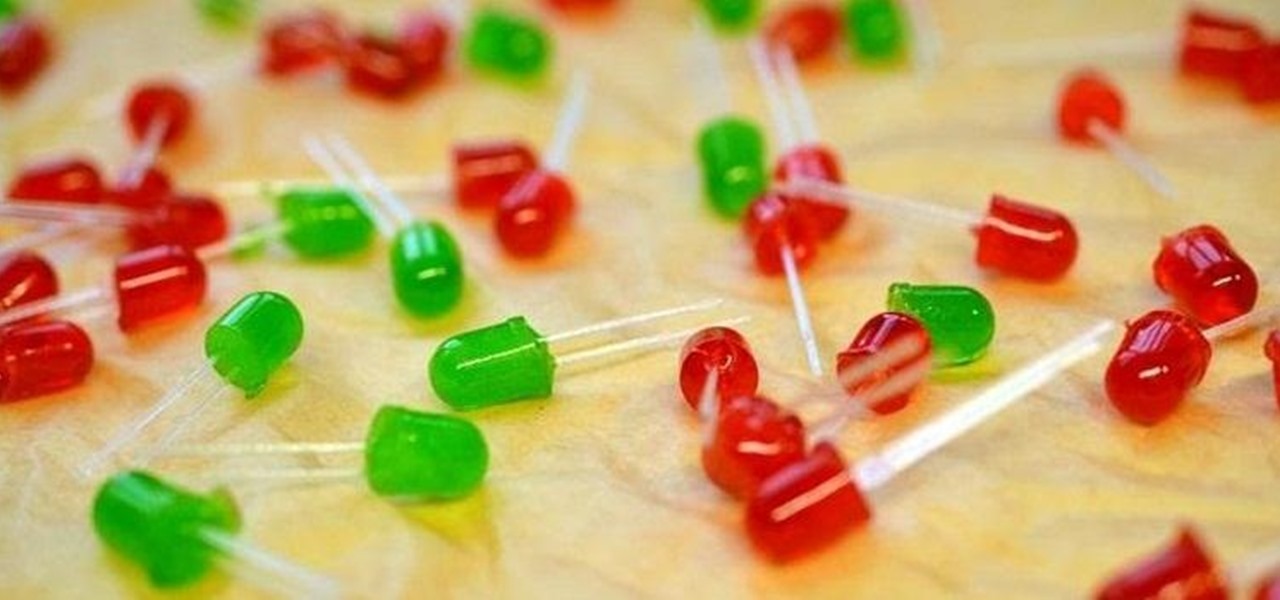
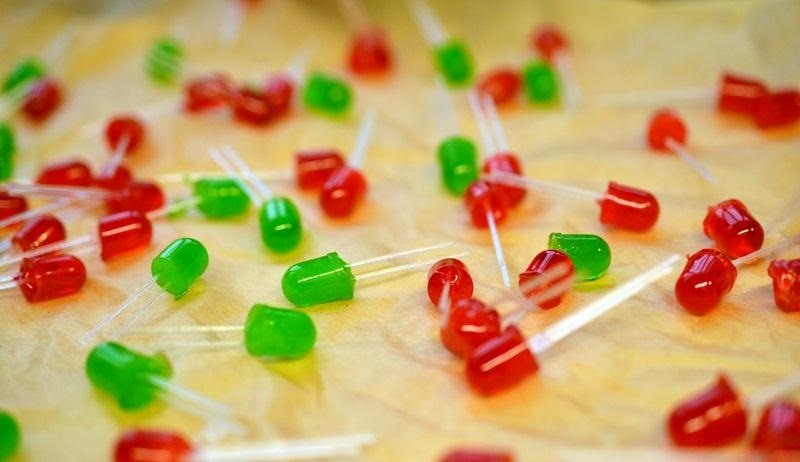
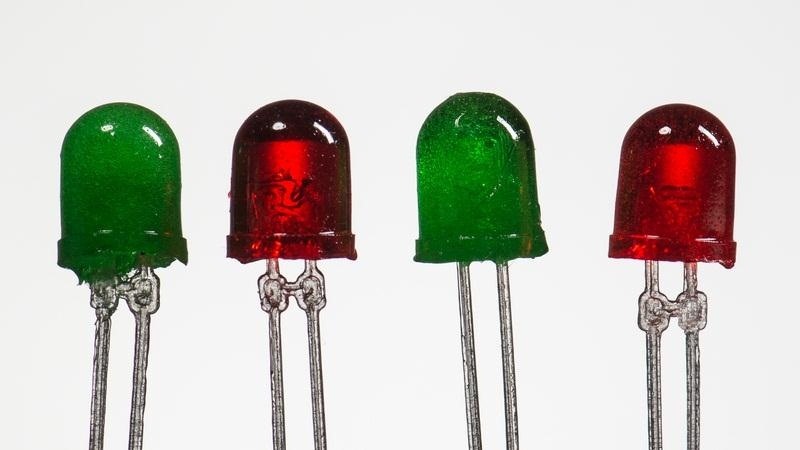
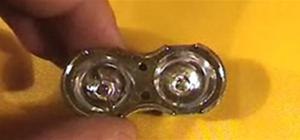
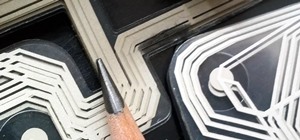
These specific LEDs, which sit on the smaller side of the spectrum, look like some type of gummy. The fact that LEDs have a wide range of colors doesn't help either. If only I could find out what it is about the LEDs in particular that makes them look so yummy.
Hmmmmm.
WAIT. I GOT IT!
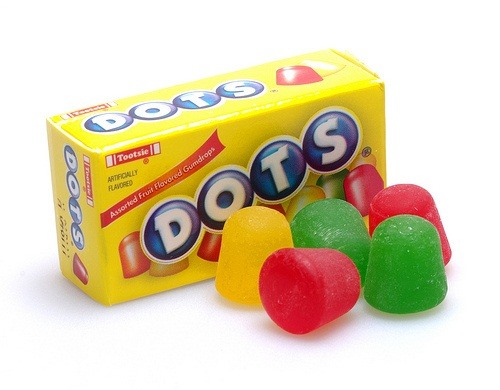
I knew there had to be a direct link. The small LED lights look exactly like DOTS, the vegan gum drops that have been in circulation since the mid-1940s. A few toothpicks and a box of DOTS and you've got an edible LED!
If that's not geeky enough, you can always check out this tutorial by Adafruit's Becky Stern, which teaches you how to make your very own edible LEDs from molds.
Check out the video to watch Becky go through the process step by step, or scroll down to see a breakdown.
You'll need the following tools and supplies for the first half of the recipe:
- LED lights
- Mold box
- Glue
- Food-safe silicone
- Scale
- Rubber gloves
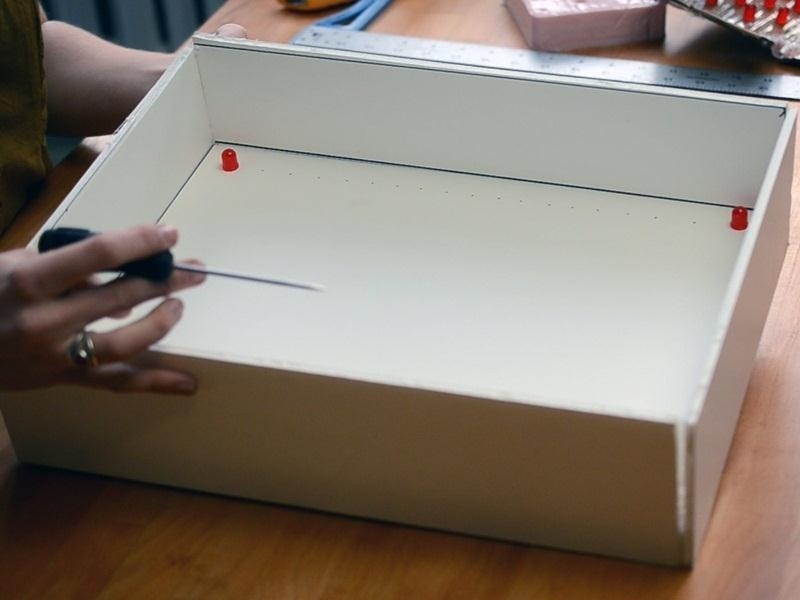
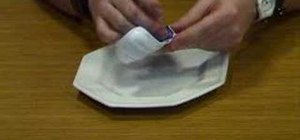
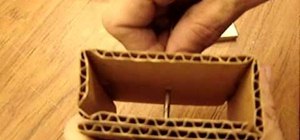
The first step is building a mold box (from any materials you have) that can fit in you freezer. Make sure the box is sealed tightly with glue, so that no mold will leak out of it. Once it's built, you'll want to place the LED lights all across the inside of the box.
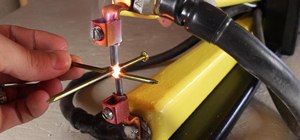
Then you'll put on the gloves follow the instructions for the food safe silicone you're making. Get it mixed up as quickly as you can—the mold can start to harden in no time. Once the mold is prepared, pour it into the mold box and let it distribute evenly.

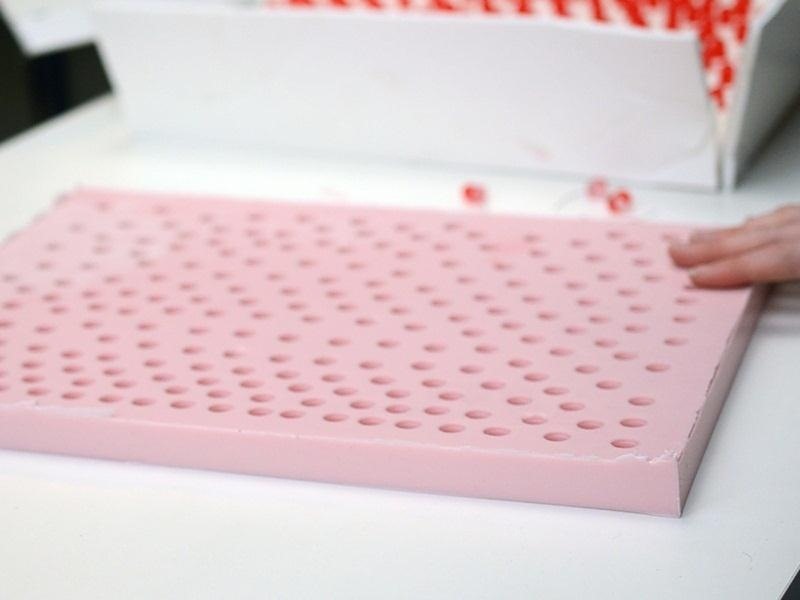
Check the mold box for any leaks. If it's fine, let it cure for 24 hours. The next day, you can break apart the mold box take out the silicone mold. You'll then want to bake the mold for 4 hours at 212°F, then wash it with regular dish soap.
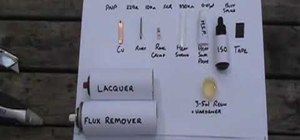
Once you're done with this, you can start on the second (and more fun) half of the project. For this part, you'll need the following:
Ingredients:
- 3 packets gelatin powder
- 1 box Jell-O (any flavor)
- 2 teaspoons Ascorbic acid powder (or vitamin C tablets, crushed)
- 1/3 cup cold water
Tools/parts:
- 2 cup stovetop-safe glass measuring/mixing cup
- Silicone spatula/wooden spoon
- Deep pan for double boiler
- Plastic wrap
- Candy syringes
- 3D printed legs (any clear type of toothpick)
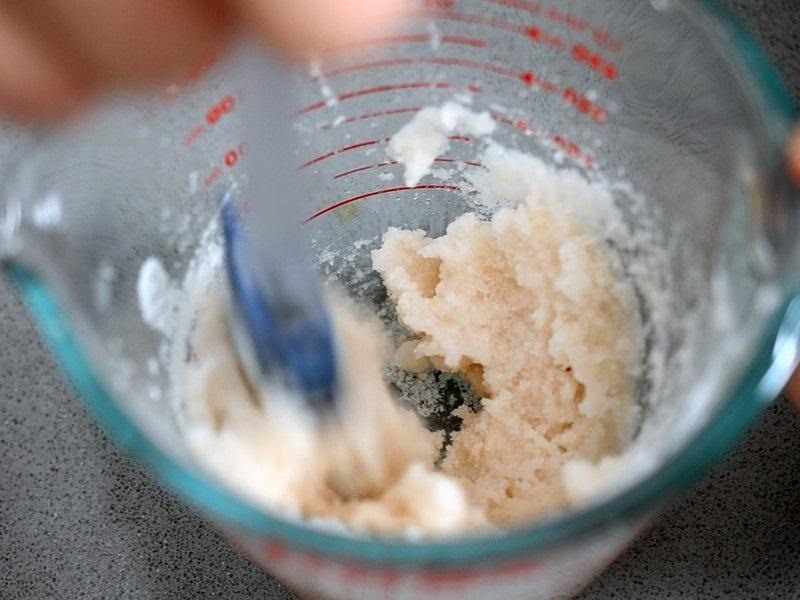
First, pour 1/3 cup of cold water into a mixing cup and mix in the gelatin slowly. Wait until the solution becomes almost like Play-Doh. Put plastic wrap over the mixing cup and let it sit for 10 minutes.
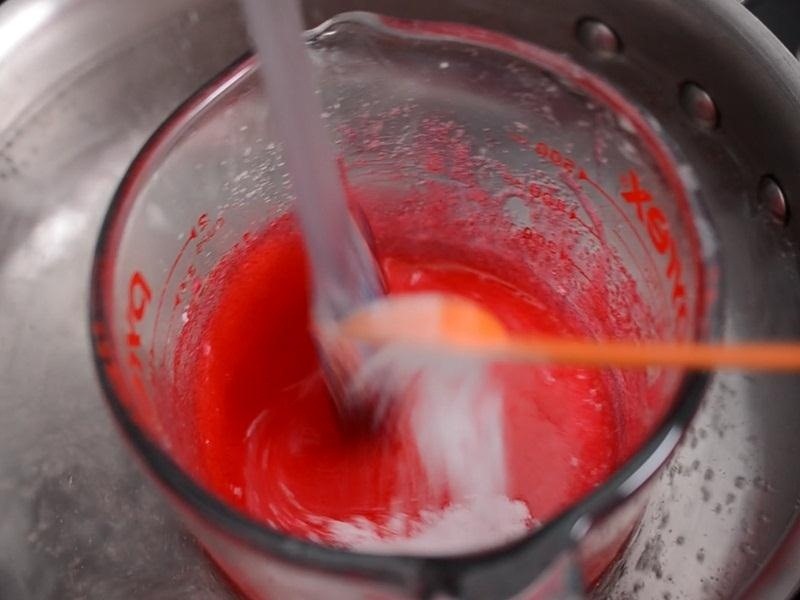
Turn on the heat for your double broiler and add the red gelatin to the mixing cup. Next, add a teaspoon of acerbic acid, in order to give it a bit of a sour taste. Make sure you add it at the end, because the heat can change the taste quickly.
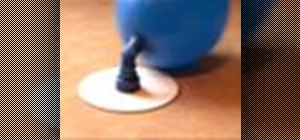
Put it in fridge quickly. Once it firms up, put the solution in the mold with the candy syringes and place whatever you'd like as the legs for each LED. Becky used 3D printed legs but you can use something like a clear toothpick, since not many people have access to 3D printers.
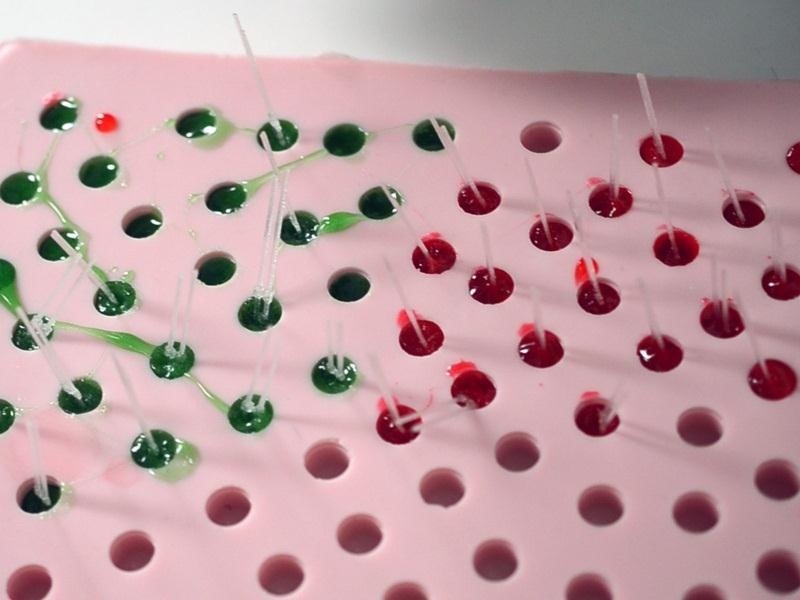
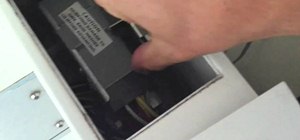
Pop the mold into the freezer for a few minutes so that it's easy to take out the LED's and you're done!
You can find more details and a link to download the model for the 3D printed legs over on the Adafruit tutorial.
Just updated your iPhone? You'll find new emoji, enhanced security, podcast transcripts, Apple Cash virtual numbers, and other useful features. There are even new additions hidden within Safari. Find out what's new and changed on your iPhone with the iOS 17.4 update.


2 Comments
Cool idea. You might even be able make them light up if you made the leg tips out of a glow in the dark material. Not sure if that's food safe though...
This is great for people who work with LEDs every day. You could dump your gummies next to the real ones while you work, then everyone will think you're crazy when you eat the seemingly real ones. Not too bad a prank.
Share Your Thoughts